Many computer users who are interested in editing audio files, adding effects to audio clips, and outputting them as they wish and would like it to be, And often in order to work in this field and get some money for it, But they are looking for an easy, simple and freely available audio editing and editing program like Audacity.
It contains a lot of beautiful effects that can be added to their audio clips, Besides performing many different audio editing operations, Therefore, audacity program is considered one of the best programs in this field because of its wonderful features that we will discuss in detail through this article.
Why should we use audacity?
Audacity is one of the most popular audio editing software audio clipsOne of the most important features of the program is that it does not require any kind of activation or purchase of a license to use, but is available for free use, in addition to that it contains a very simple audio filter with the ability to install many additions inside the program, and these are among the good features that are available in this program.
Is the program suitable for everyone?
Audacity is a program suitable for all users, whether they are beginners or professionals. But it may not be of much use to professionals because it contains only the basic features that help any ordinary user to edit the audio files he wants to work on. Among these basic features are adding effects to audio files, With the possibility of recording audio through the microphone with ease.
See also: Best Free Photo Background Removal Sites
Features of Audacity
Audacity has many features that can be used for free. Which made it at the top of the best audio editing programs and adding effects during the year 2020 and our new year 2022, Among these features are the following:
- Through the program, audio can be recorded and saved in all popular audio formats, such as: mp3, avi and other audio formats .
- The program allows the ability to convert sounds recorded on old cassette tapes, drag them and convert them into audio files in any audio format you want with ease.
- Through the program, you can control the speed of the audio clip in terms of slowness and speed in any part of the audio clip, In addition to full control of the audio track in the audio clips.
- Merge multiple audio recordings together and save them into one combined audio file.
- Adding many different effects to the audio file, whether from inside or outside the program, The program allows you to add sound effects from your computer.
- The program allows you to record more than one audio track at the same time.
- The program contains a set of filters that enable the removal of distortion and noise in audio files and make them completely pure, With the ability to lower and raise the volume in the audio clips.
- The program fully supports the Arabic language.
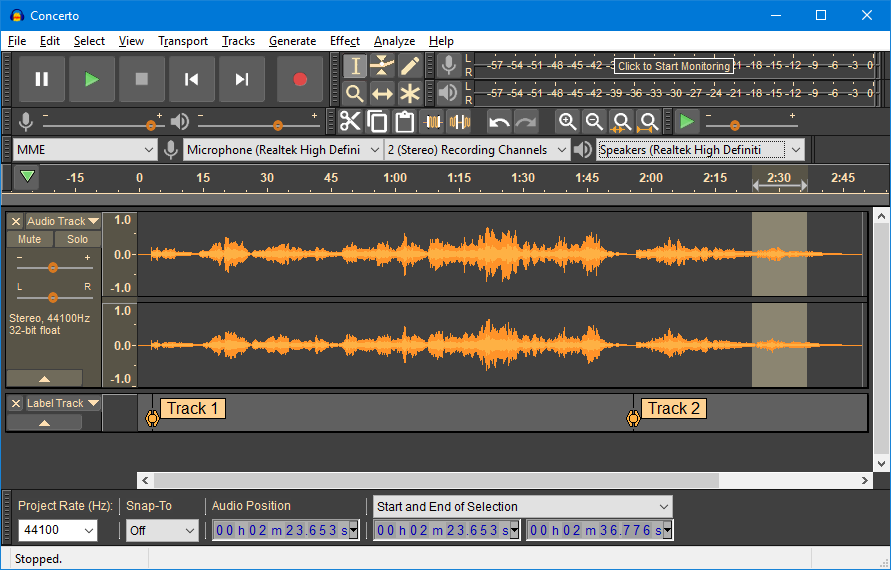
Explanation of the program’s tools and how to use it
The program contains a lot of tools that enable you to edit the sound and add many effects to it, Among these important tools are:
Audio tape:
This tape contains many tools, namely:
- Start recording audio.
- Skip the section to the end.
- Skip the clip to its beginning.
- Stop recording completely.
- Start playing the sound again.
- Pause the sound.
See also: Best call recording apps for Android devices in 2022
Edit bar:
It contains many basic audio clip editing tools, including:
- silence tool:
It is a tool used to delete a specific part of the audio clip so that the audio does not appear at all in this part when the entire audio clip is played. It is mainly used to remove a part of the audio clip that has noise or noise.
- trim tool:
It is a tool used to keep only a specific part of the audio clip and completely delete the rest of the audio clip by selecting the part you want to keep and then completely deleting the rest of the audio clip.
- Other tools:
Like a save tool to save the current progress you’ve made, and a transcription tool for transcribing part of the audio clip and repeating it within the text, And the clipping tool to cut a specific part of the clip in any area you want.
Sound bar identification and processing:
The program contains many tools for identifying parts of the audio clip for the purpose of processing, as follows:
- Special time offset tool: The task of this tool is to delay a sound from the sound that follows it or the one before it. It is used if the audio work contains many sounds. So that these sounds must be coordinated and arranged so that the section is organized and arranged in terms of sounds.
- Audio clip zoom tool: It is a special tool that magnifies the sound wave within the audio clip in order to see and notice the sound waves well in order to process them with great accuracy afterwards.
- drawing tool: This tool is used to control part of the audio clip, such as amplifying, reducing, or hiding the volume completely. And the sound wave should be greatly magnified when using this tool in order to see well the control points to be worked on.
- adverb tool: It is a tool used to highlight or hide part of the audio file. And many white dots appear when using this tool, through which the volume can be easily controlled.
- Selection tool: It is a tool through which you can select a part of the audio clip that you want to make modifications and add effects, All modifications and effects are made only on the selected part.
- A tool called NMD Multitools: Through its activation, this tool allows to work on all previous tools freely without being restricted to a specific work tool.
How can I record audio with Audacity?
The audio is easily recorded through a few steps, which are as follows:
- Make sure the microphone is properly connected and on the software before you start recording.
- Press the red record button to start recording the audio clip.
- After completing the recording of the audio clip, press the stop button to stop the recording and save the audio clip within the program.
- To record a new audio clip added to the current clip that has been recorded, just press the record button again, This is a nice feature inside the program where two audio clips can be recorded and combined later.
Important notes before you start recording the audio clip:
- Adjusting the audio recording path will it output through one channel or two channels at the same time, We can find it in the program through the Mono option, that is, recording through one channel, And the stereo option, which means that the sound will come out through two channels, and it is the most used in recording sounds so that the sound comes out from the left and right speakers at the same time.
- The high and low of the sounds can be controlled from the program by controlling the direction of the arrow. The closer it is to the (+) sign, the louder the sound will be. The closer it is to the (-) sign, the lower the volume will be in the audio clip that you recorded with the program.
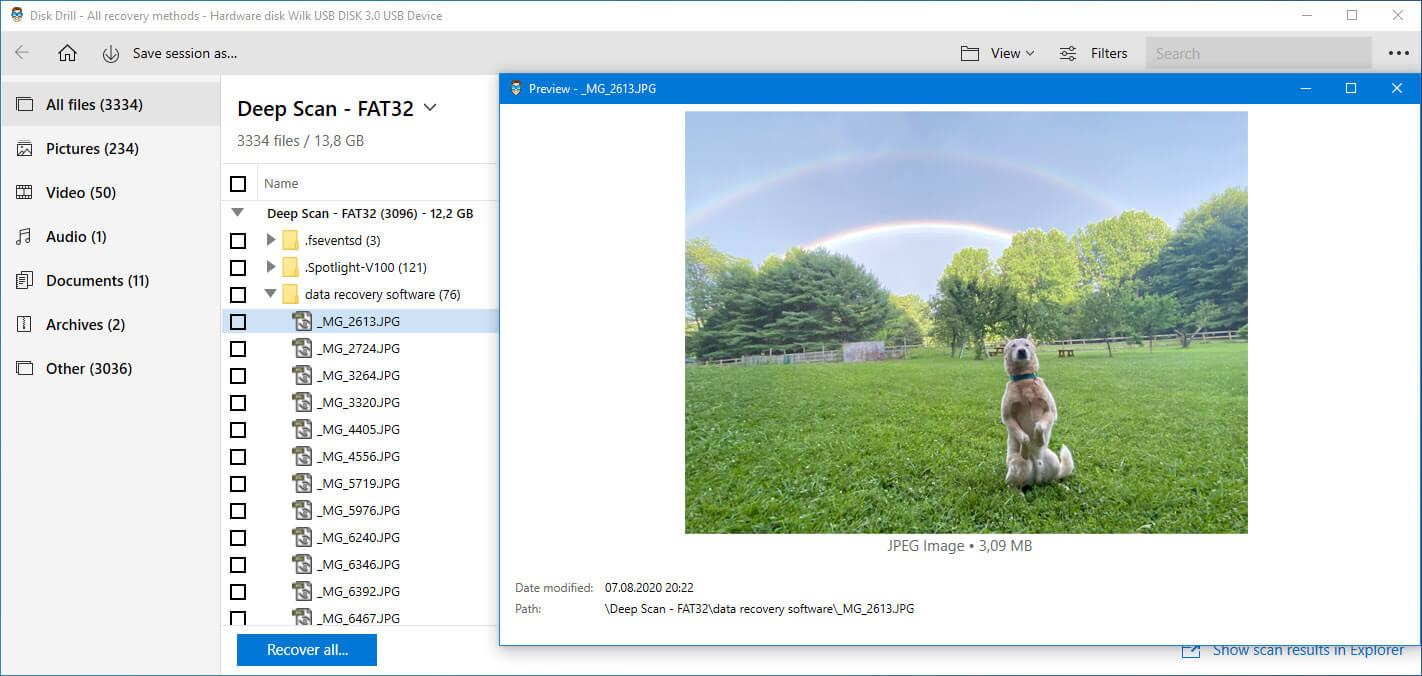
See also: Best Deleted File Recovery Software for PC 2022
How to purify the sound, remove excess sounds and treat noise:
- All audio filtering, removal of extra sounds and noise processing are done through the effects menu in which there are all the necessary commands to perform this operation.
- In order to remove noise, the first 5 to 10 seconds of the audio file in which the audio was not recorded must first be identified to determine the exact degree of noise.
- We go to the effects menu and click on the Noise Reduction filter, which is used to remove noise.
- After a dialog appears, we can choose the get noise profile so that the filter determines the degree of noise in the audio clip.
- Next, we select all the parts of the audio file that we want to remove the noise completely, re-press the noise reduction filter, specify the degree of noise to be removed, and then press OK to remove all the noise from the audio clip we selected.
What is the method of merging two audio clips together?
- What is meant by the process of merging two audio clips is that we combine two different audio clips in the same audio track so that the first starts and when it ends the second clip starts immediately after it with the order of the start and end time of the first clip as well as the second clip, Or adding a new sound within the sound of the original clip in some specific areas of the audio clip and not over the entire clip.
How to remove and delete part of the audio clip
First we must delete the silence periods inside the audio clip and the process is done using the selection tool where we select the beginning and end of the silence clip as well as the normal clips, then we press the delete button on the keyboard and the clip we selected will be deleted, And so we repeat the process with all the parts we want to delete from the audio clip.
How to export the audio file and save it on the computer
The method is very easy, all we have to do after finishing editing the audio and adding all the adjustments and effects we want we go to the file menu and press the export command and we always save the file in wav format because it is the easy format to save files and does not cause us any problems in saving the audio clip, It also saves the audio clip in the same quality as the work we did inside the program without losing any modifications we made, The audio file can then be converted to mp3 format through any audio converter program that we download to our computer.
How to add some basic effects to an audio file
Add a repeat effect for a specific segment of the audio:
- We select the audio clip to be repeated via the selection tool.
- From the effects menu, select the repeat command.
- We specify the number of times we want to repeat the section, And click on the preview button to preview the repetition live, We press the Ok button to apply a repeat effect to the audio clip we are processing.
Adding a frequency effect to the audio clip Change Pitch:
- Select the part you want to add frequency to with the selection tool.
- From the effects menu, select the Change Pitch command.
- Select the appropriate frequency option you want, And press preview to preview the audio and after confirming all the settings, press OK to apply the settings to the audio file.
Add an amplify effect:
- Select the part where you want to enlarge the volume with the selection tool.
- From the effects menu, choose the Amplify effect.
- Select the audio amplification options you want by shifting the cursor to the area you want and then press preview in order to preview the settings. Then press ok to apply the settings to the audio track.
See also: 18 best free tools to send bulk marketing messages via WhatsApp
The rest of the effects that are found within the program can be applied in the same previous ways, as they do not differ much, It is also possible to select and work within the program using the mouse (mouse) to make the work faster and more accomplished. From the above, it becomes clear to us the importance of the audacity program in editing audio clips and performing basic operations on them without the need to purchase paid and high-priced programs, Audacity allows you to make all the basic modifications to the audio track you want, completely free of charge.